Task 1

Here you can see that this is the overhead left as you can see that the pan level is to the left the reason why I done this because the overhead is on the left hand side so I panned it half to the left.Also you can see that the volume has been decreased to -4.0dB the reason why I done this is because I needed the main output at least at -4.0dB or I cannot mix and master it because the tracks will clip.
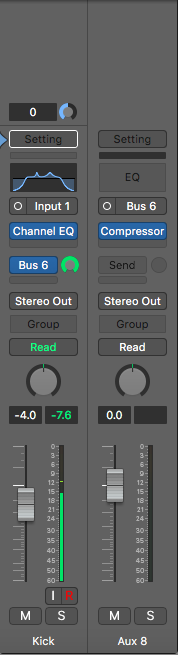
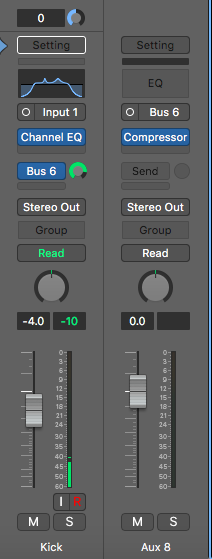
Here you can see that the kick drum has a send effect you can add a send effect by adding a send bus effect as you can see on the bus there is a compressor also the bus fader has been turned full so that I can hear the kick mainly in the mix.

This the reverb effect on the vocals as you can see the wet signal is at -25dB if you turn the wet signal up more it will have a more echoey sound but if you turn the dry up it effect the raw sound.
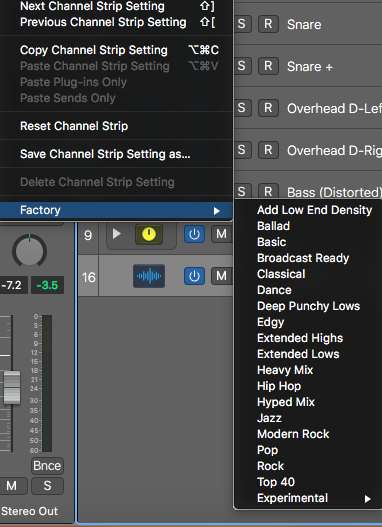
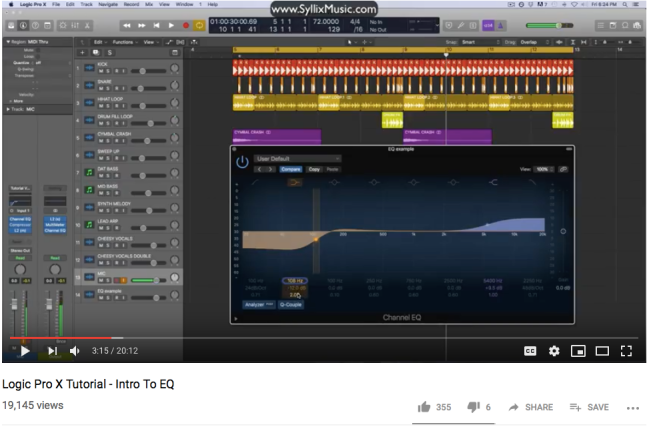
When mastering the track you can use a preset to use a preset go to the stereo out then press settings after then pressing settings go to factory then choose from a preset.

But if you were to do it manually you need to turn the levels of your track down do where the stereo output sound is at about -4.0 the reason why is because if you goes past -4.0 then the track will clip but as you can see I have mastered the track successfully because the stereo output is at -4.7.
Task2
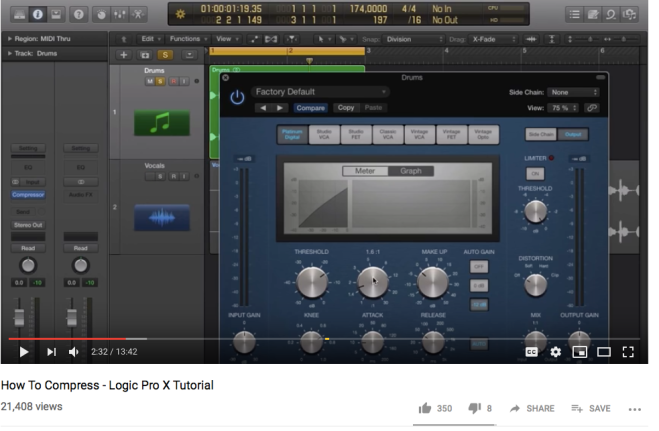
After watching this video it helped me familiarise myself with the threshold and make up gain, the threshold is when the compressor actually starts to work and the makeup gain is lowering the sound on the stereo out put but making the sound actually louder, the reason why I would use this during mixing and mastering is to keep the stereo output from clipping.
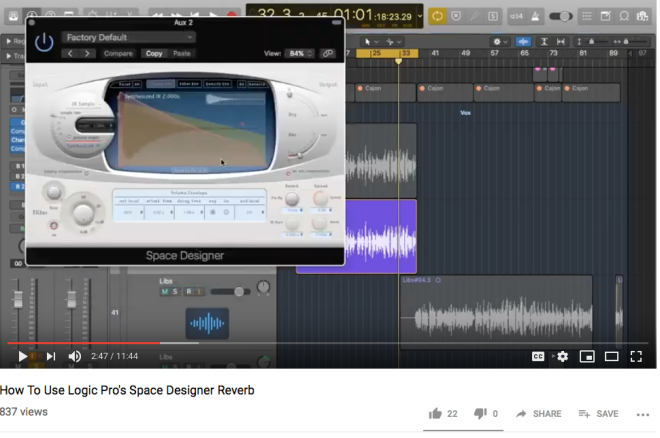
This video showed me how to use the wet and dry gains properly the wet signal is the effect and the dry signal is the raw sound, the reason why I would use this in mixing and mastering is for the vocals this would help my vocals be brought into the mix better.
This video helped me use EQ properly first and last tab on the EQ is called the Low Pass and Hi pass filter the low pass filter lowers the sound and allows the lower frequencies to pass through where as in the hi pass filter it allows higher frequencies to pass through, the other tabs help boost or cut the frequency Boosting helps create a gentle natural sound, where as in cutting it lowers the sound.I would use this in mixing and mastering because I would use this for my kick drums to cut the lower frequencies.
Task3
Track1

When first mixing and mastering the track Meatloaf I decided to use to track stack and I also changed the colour I used the technique on the drum kit and Guitar the reason I did this is because it makes sure that I know which instruments are which also track stacking helps when I am applying effects using the bus.
Applied to all the tracks you can see that there is Bus 6 if I apply an effect to the buss then turn the fader on bus 6 up it increases the effect.
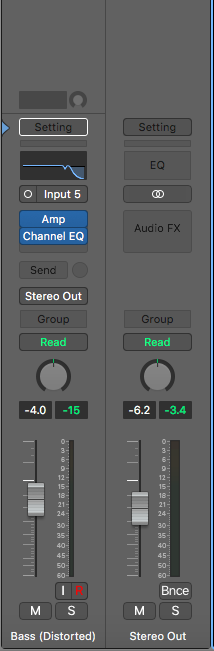
After then applying effects to the drums I then decided to apply effects and EQ the Bass as you can see the eq I applied I decided to cut the higher end to make sure that it increases the bass on the frequency
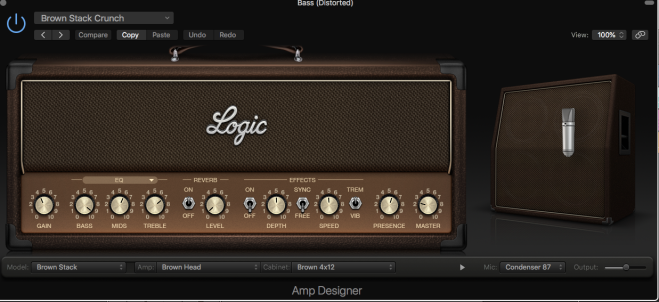
Here is the plugin amp as the bass player wanted a trebly sound the treble is increased also the bass is full to give a punchy bass sound.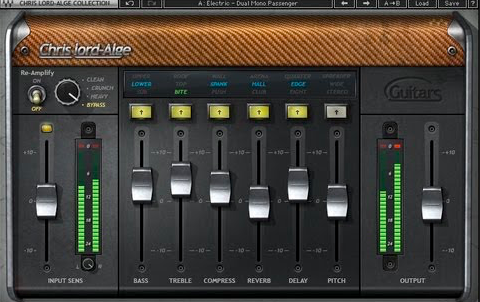

Unfortunatley as I do not have the CLA Guitars I couldn’t use this plugin but as I used the plugin while mixing at college the reason why i decided to use it is because it has a compressor in the plugin already and it also gives the guitar a clean sound.

When mixing the vocals I decide to add some reverb i used a plate reverb because it changes the tone of vocals and makes them sound much brighter in the mix.

After then adding reverb I needed to compress the vocals I decided that the threshold needed to be around the -10 on the threshold because this is how loud I wanted it to be before the compressor started to work, and I had the makeup gain on 2dB so that it would lower the actual stereo output volume but would make it louder.
Track 2

In this screenshot this shows the first effects I applied on the guitar when I was mixing and mastering the track.

In this screenshot it shows the EQ on the guitar I decided to boost the mid range to brighten the guitar to sit in the mix better.

Here is the reverb I applied on the guitar I decide to have a little reverb so that the guitar sits in the mix better and it makes it echo so it can be heard much better.

In this screenshot it shows the EQ of the vocals as you can see the Low end has been cut due to the unwanted lower frequencies of the singers voice and the hi end has been cut to give more bass in the vocals.
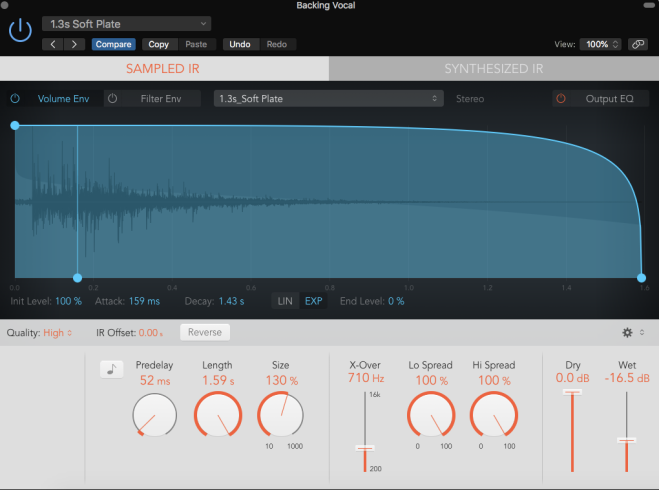
for the backing vocals I used the same EQ for the main vocals to boost bass in the vocals but for reverb I decided to drench it in reverb so in the mix its sitting perfectly and sounds great.
Task4
Here in this screenshot it shows that I have applied a bus to the kick when also on the bus I have applied a compressor when I turn the bus up it turns up the effect.
In this screenshot it shows the bass as you can see the Hi end of the EQ has been cut to boost the bass.
Here is the amp plugin on the bass as you can see the Bass is max and the treble is high the bass player wanted a crunchy sound so this is why the mids are high also with the bass and treble
.
In the guitar plugins I had used the CLA Guitars in college but as I don’t have access to this plugin at home I wasn’t able to use it but when I did have access to it I used it due the cleaner sound and the compressor that is already in the plugin, this helps me because I don’t have to use a compressor on the guitar.
In this photo is the reverb on the vocals I used a plate reverb because it sounds much brighter in the mix and changes the tone on the vocals.
After then adding reverb I needed to compress the vocals I decided that the threshold needed to be around the -10 on the threshold because this is how loud I wanted it to be before the compressor started to work, and I had the makeup gain high so it would increase the volume of the vocals and sit better in the mix.
Track 2
In this screenshot this shows the plugins on the guitar for the second band.
This shows the EQ on the guitar I decided to boost the mid range to make the guitar sit better in the mix and brighten the guitar.
I decided to add some reverb on the guitar so that it echoes and can be heard much better in the mix
.
This shows the EQ on the vocals the low end has been cut due to unwanted low end frequencies but in the hi end it has been cut to boost the bass in the vocals.
For the backing vocals I used the same EQ for the main vocals but I decided to drench the backing vocals in reverb so that it echoes out and fits in the mix better.
Here is the first bands song Meatloaf after being mixed and mastered:
Here is the second acoustic bands song after being mixed and master:
Task5
I think that the mix and mastering was successful but even though where I didn’t have the correct plugin CLA Guitars for the guitar in the acoustic track I still managed to produce the second track but just using a different amp but even though I did encounter a problem with one of the tracks where half way through there was a glitch which occurred during recording even though there was nothing that we could do we just had to ignore the glitch as we couldn’t do anymore recording we had to just carry on.
If I could go back a change one thing that I would do to the mix and mastering it would be the kick drum I should of used the double up technique this would of made the kick drum more punchy and bring all the instruments together in the mix, also I felt in the first track that the bass was not coming through the mix how I could of fixed it is I should of boosted the levels of the EQ.
in the second track I felt that the backing vocals and vocals sat great with the reverb in the mix also if I were to add more effects I would add more reverb to the singers vocals because the singers vocals are quite flat for a singer I would add some more wet signals to the reverb so that the vocals have a echo to them I feel like if it were to have a echo it would help bring the mix together.
